How to Make a Kids Growth Chart.
(click on the images to see larger pictures)
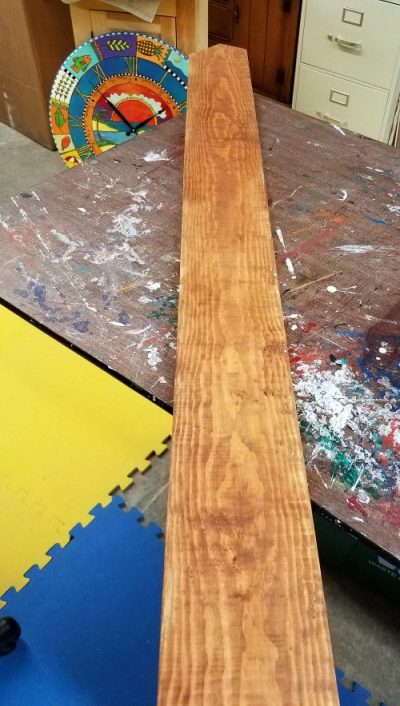
Chart 1
Step 1

Grandson Austin
Step 2
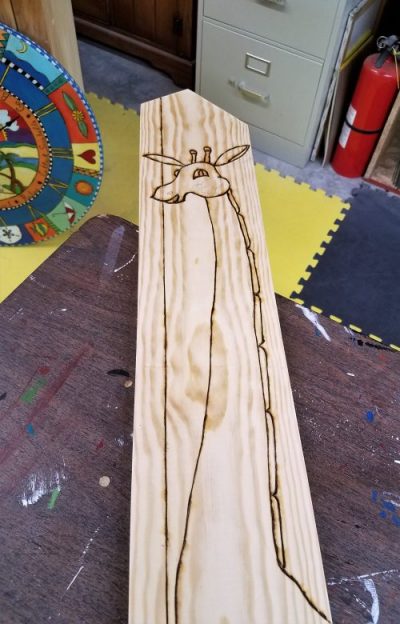
Chart 1.2
Step 3
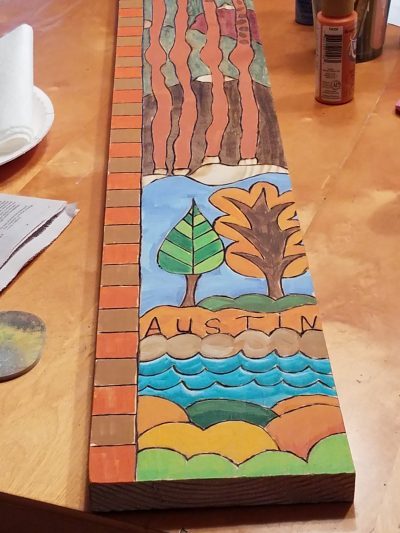
Chart 4
Step 4
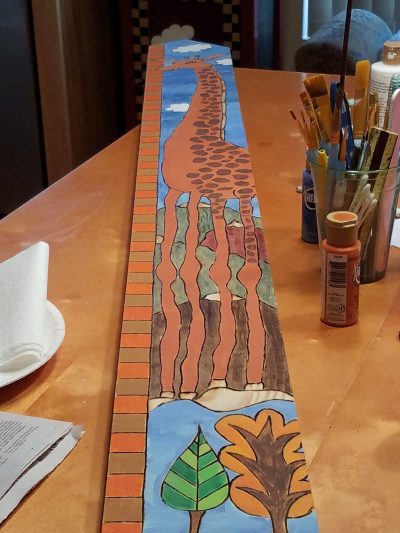
Chart 3
Step 5
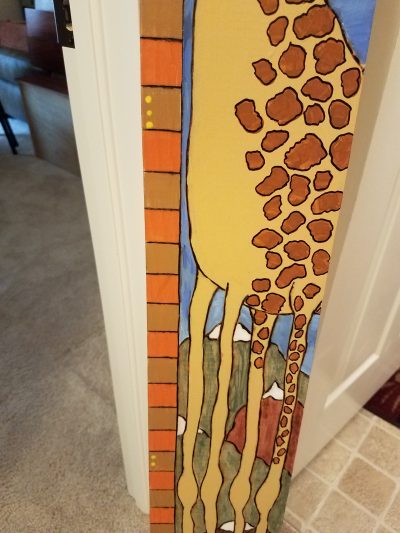
Chart with Dots
Step 5
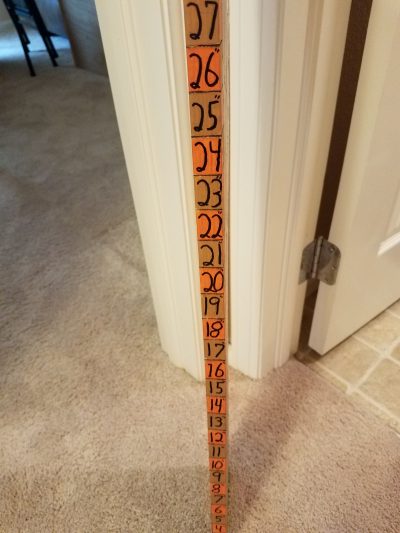
Chart with Inches
Step 5
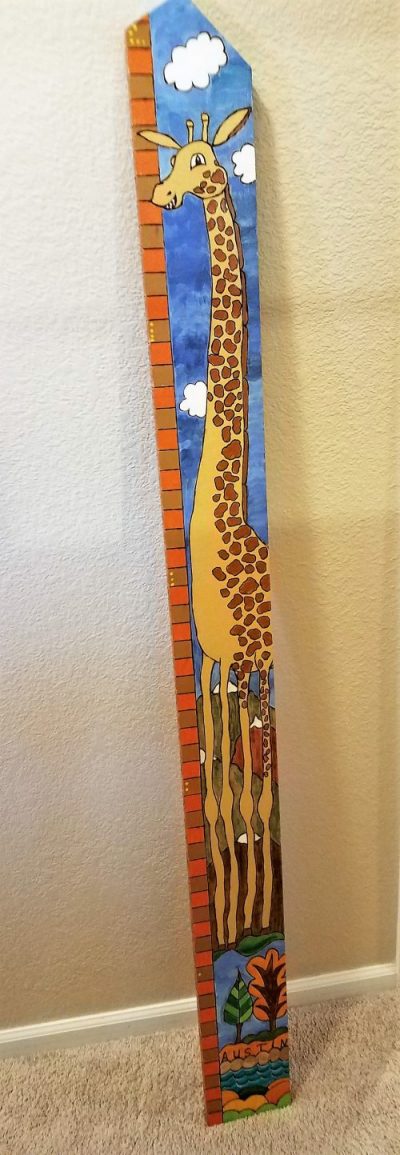
Chart 6
Finished Chart
Step 1. Find a straight board. 6″w x 1″h and maybe 5′ tall.
Step 2. Find a kid. I chose this one because he is a darling grandson of mine. 🙂
Step 3. Figure out a design and focal point. I chose a Giraffe although parts of it looks like a duck and other parts like a dinosaur. Don’t be too hard on yourself. I drew the “giraffe” with pencil, then burned the design with a wood burner.
Step 4. Make sure you leave the left or right side, about an inch, to have the space for one to put the growth dates on. Explained later. Continue with your design adding the background. You do not need to burn this. You could easily use a permanent marker, if you wish. And paint “inside the lines”.
Step 5. Continue adding your ideas. I chose trees and mountains and sky and clouds behind the “giraffe/dinosaur”. Remember to dedicate the edge for the inches.
Step 6. On this one, each square is an inch. On the side next to these inch squares in the actual numbers 1″-2″ and so on. I made each foot a bit different with yellow dots.
Step 6a. This is the chart with inches marked up on it.
Final Chart. So Austin’s parents will attach this Growth Chart in his room and can add whatever dates to the front with a permanent marker, whenever they want to measure him.
Just a fun and colorful addition to his room and a fun project to do!
Ta Da!
Recent Comments